
Here is an overview of this huge project.
- We started with a huge toy clean out. It was brutal! I arranged all the toys and took note over a two week period of what actually moved from the original spot. After the two weeks, if it hadn't moved (or played with) it was thrown out or given to Goodwill.
- We emptied all contents of the room, placing items all over the house. :)
- All carpet was removed. That was disgusting to say the least!
- The kids were a huge help scraping the old floor, laying the new barrier, and installing the new floor. We had quite the assembly line!
- My husband and I discussed what I needed for organization in the new classroom. We went over and over the details. The main issues...STORAGE & ORGANIZATION!
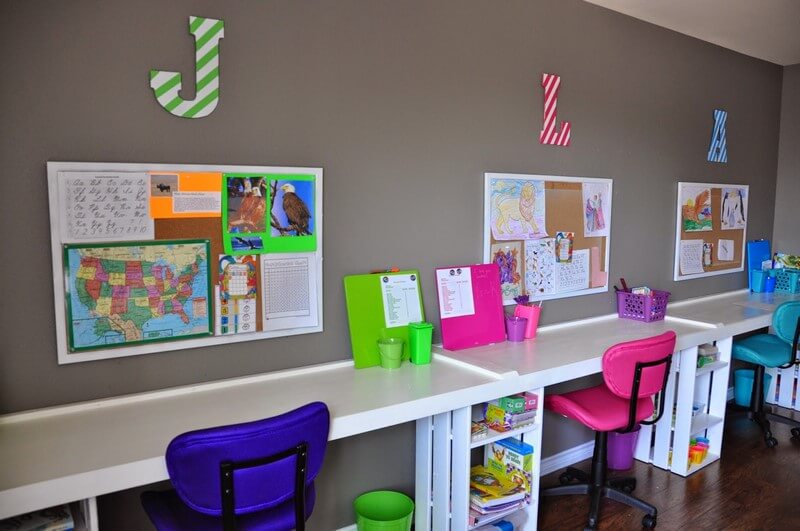
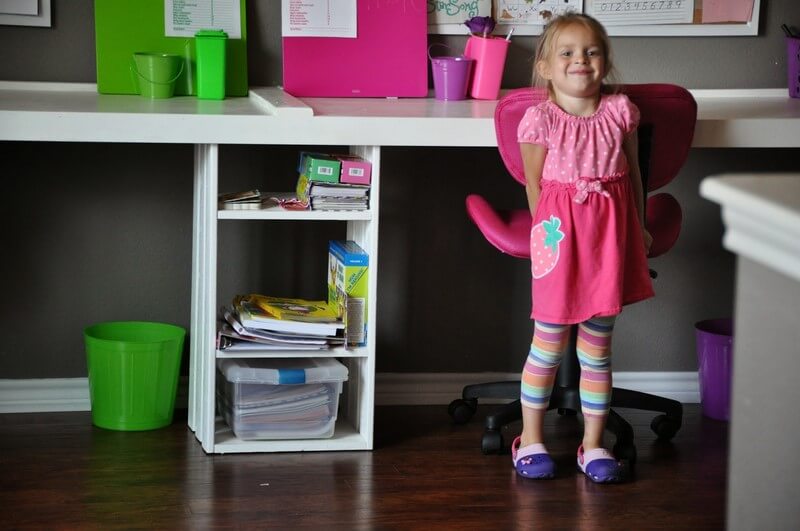
- He built one large desk into the room and then sectioned it off with handmade crates. It gave each child a large area to work but also lots of storage.
Take a look! :)
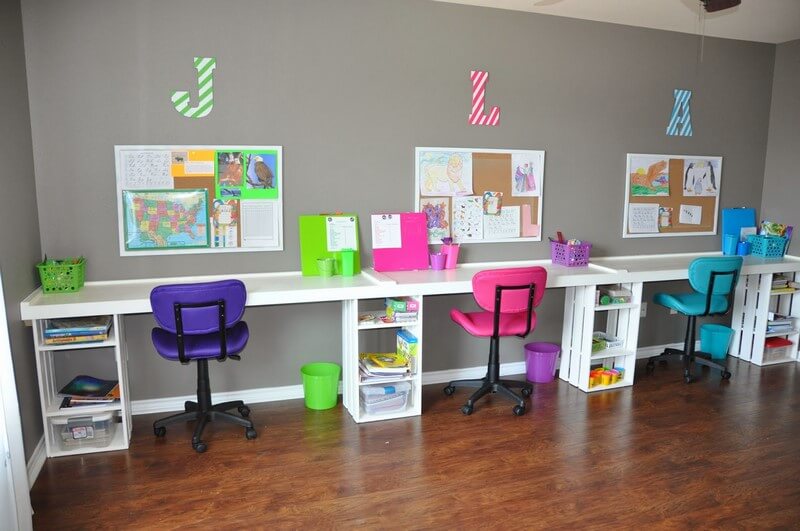
It was really important to me that each child have plenty of space and organizational areas.
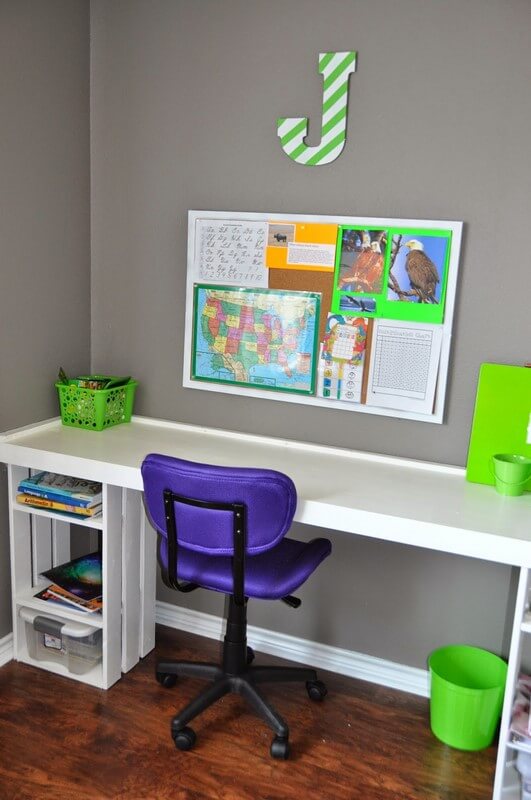
We purchased large cork boards for the kids to display their work and charts. The boards originally had oak colored trim. We repainted the trim white so it would stand out more against the dark grey walls.
Each child picked out their own chair at Office Depot.
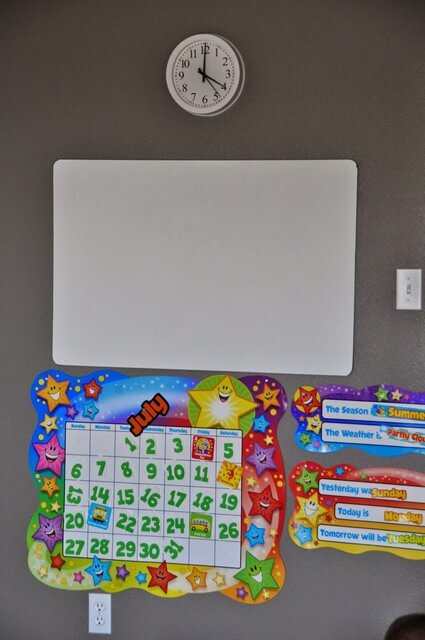
I had already erased the white board before I took a picture. Having the large board mounted on the wall is a great tool. It allows the kids to get out of their seats and gives an alternate area to work. Our calendar is below. As you can see, we used it quite a bit today (everything is leaning side ways). :)
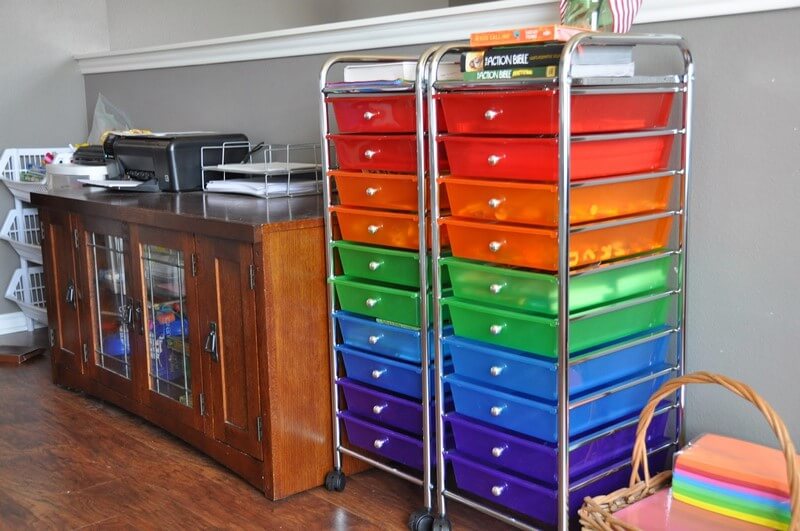
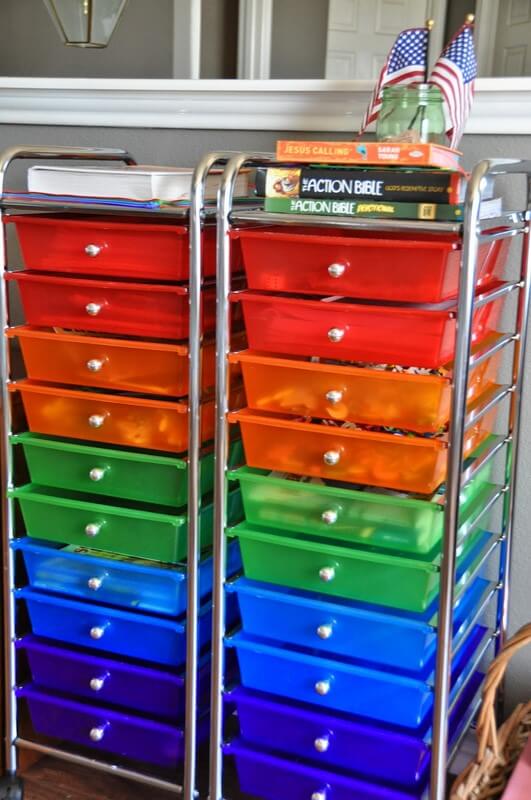
This is the opposite side of the room. An old TV stand is now being used to house educational games, extra school supplies, stickers, and anything else that needs to be tucked out of sight. The two towers are my favorite additions. Each child has four drawers in their specified color and then I use the top eight drawers.
B-E-A-U-T-I -F-U-L!!! :)
Here are a few pictures from our first day.

The Oldest :)
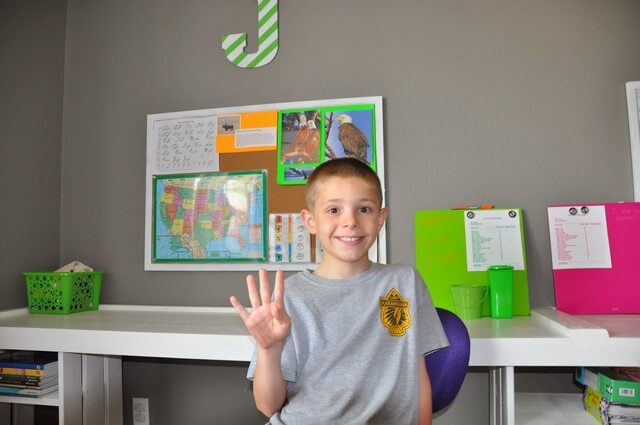
4th Grade??? How is this possible?
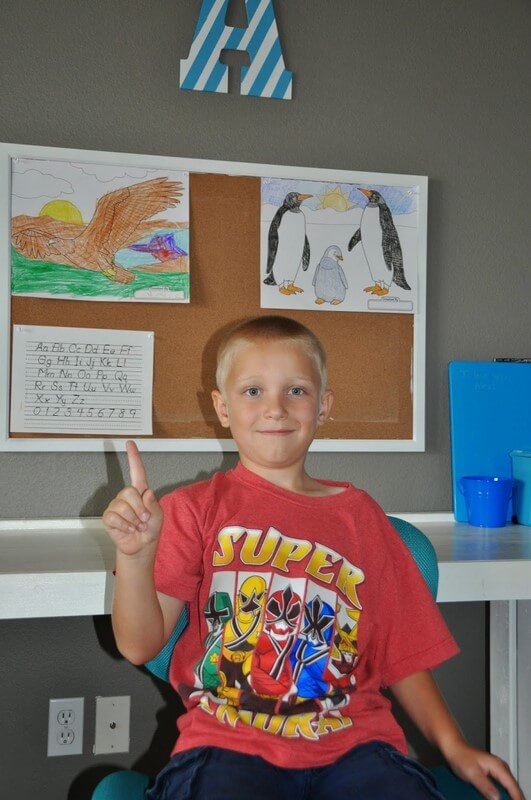
The Blonde and Blue :)

First Grade! Trust me, he was excited. He just decided it shouldn't be documented in a picture.

The Youngest :) I am not sure what she is doing. :)
She is in Pre-K but will be starting college next fall!
All in all it was a great first day!!! The room was perfect and functioned just as I had hoped. Heres to a good year!
your room is so cute! How did your husband create the desk? I love the idea!
Reply DeleteHi Tiffany,
DeleteSorry it has taken me so long to get back to you. The tops of the desks are a stain grade/paint grade pine wood sold at Lowes (finished wood aisle). The sides were made with the left overs from the top and 1X4's. I hope this helps. If you have any other questions please let me know.
Thank you for stopping by,
Elizabeth
I would love to Know what you used as the surface of your desk? I have been planning on making a disk very similar to this using some bookcases I have, but cannot determine the best option for the top
Reply DeleteI would love to Know what you used as the surface of your desk? I have been planning on making a disk very similar to this using some bookcases I have, but cannot determine the best option for the top
Reply DeleteHi Kim,
DeleteThe surface of the work area is a stain grade/paint grade pinewood found at Lowes or Home Depot (finished wood section). I hope that helps. If you have any other questions please let me know.
Elizabeth
How did this work out for you long term? Would love to know what worked and what didn't. Suggestions for making a smaller space work, perhaps by going vertical just on one wall? Thanks!
Reply DeleteHi Jill,
Reply DeleteWe love the space, the desks have been wonderful. The only part that hasn't worked well are the rolling chairs. I have two boys and one girl and they love to roll around the room or from one desk to the other. Since are room is upstairs with wood laminate floors, the rolling is loud. We have tried mats under the chairs but then the kids would get stuck and could not move the chairs at all (since their feet do not touch the floor).
Like I said, we have truly loved it! If you have any questions please let me know.
Thank you for visiting. :)
Elizabeth
I am getting ready to make desks JUST like these. Would Hubby share hoe he made the crates? I'm scared if I attempt them on my own, they won't be sturdy enough as I need to put computers on top.
Reply DeleteHi Laurie,
DeleteThank you for stopping by. He used pieces of scrap wood that we had on hand, measured to the desired length, and nailed the pieces together. The top piece of the desk is attached to a 2X4 which is attached to the wall. Then the crates were made and slid under the top of the desk. The top of the desk is also nailed to the top of the crates. I hope all of that makes sense. :) If you have any other questions please let me know.
Elizabeth
HI Elizabeth,
DeleteI love this room! just to piggyback - can you list the size wood your husband used for each piece? my husband may attempt to do the same for our girls :) thx so much!
That homeschooling classroom looks so nice and the book shelf is stunning. I want to try this for my homeschool. The last kid photo are awesome. Thanks you so much for this entry.
Reply DeleteThank you so much for sharing your awesome room! I am in the middle of creating a homework room for my 3 littles and would love to know the dimensions of your desk. I am not sure how deep to make mine.
Reply DeleteThanks!!!
My husband and I are making is for our three Granddaughters for Christmas, hope it turns out half as good as yours. Thanks and Merry Christmas.
Reply DeleteP.S. Is there anyway you can tell me the list of wood such as: ply wood 3/4- 3/8 ! and what size you cut the wood to for the crates???? Thanks Kathy
This comment has been removed by the author.
Reply Deletereally love this idea! I'm purchasing my first home and was browsing to come up with some ideas for a shared homework space for my children.
Reply DeleteThis comment has been removed by a blog administrator.
Reply DeleteI really love this idea! I'm purchasing my first home and was browsing to come up worth done ideas on a shared homework space for my children.
Reply DeleteCan I ask where you purchased your chairs from?
Reply DeleteWe got the chairs from Office Depot a couple of years ago.
DeleteThank you for stopping by!
Can I ask where you purchased your chairs from?
Reply DeleteJust wondering what the depth of the desk was. Is 12 inches enough or is 18 to 24 inches deep better?
Reply Deletecould you share the brand/color of paint on the walls? tHANKS!
Reply Delete
Reply DeleteHello friends, its wonderful post about cultureand fully defined, keep it up all the time. itunes store login
Love this. I have a different idea for the desk part. However, where did you get the colorful desk accessories? Thanks!
Reply Delete